Selecting the right size Garden Pond Liner
Before you purchase your pond liner, you need to establish which size will best suit your project. While you don't need to have all the details worked out, it is a really good idea to have a basic pond 'plan', so you don't end up with any surprises down the track.
Step 1. Work out where you want to put the pond. If you plan to put fish and plants in it, you need an area which will get a good amount of sunlight, to help them flourish. Roughly mark out the size and shape of the pond, either using string, pegs or even the garden hose.
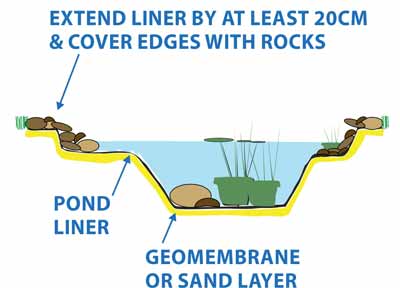
Step 2. Add at least 50 to 60cm on each side of the pond (that would give a depth of around 30 - 40cm and an overhang 'flap' of 10 to 20cm). If you want the pond deeper than 30 to 40cm, you will need to allow more.
Pond liners can be purchased in any size at all, and there are around 20 standard sizes kept in stock, ranging from 2m x 1.9m to 7.6 x 6m - but remember, you can have a pond liner custom made to any size or shape you require, you don't have to work within standard sizes. The only limitations are your imagination!
How to install a Garden Pond Liner


Step 1. Wash the liner, using a mild detergent such as liquid softly, then rinse well. (This will remove any excess oils, and get your pond 'fish ready', faster)!
Step 2. Finalise the position of the pond, and carefully mark it out. Don't forget, it needs to be at least 36cm deep in order to sustain plant life. Make sure you get rid of all weeds, roots, stones and such which could damage the liner. If you are treating for weeds or nutgrass, make sure you follow the instructions carefully (and obey any waiting times), as overspray or residue may be harmful to fish. We strongly recommend the use of a sandbase or geotextile mat under the liner.
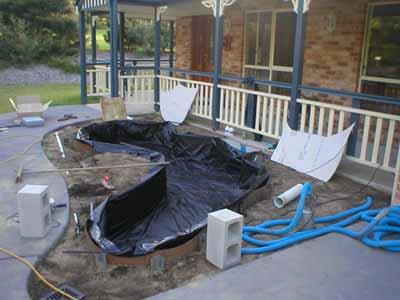
Step 3. Drape the liner into the hole, leaving an overlap of 10 to 20cm around the edge. This needs to be anchored (temporarily) using rocks or bricks. Once the liner is secure, you can start filling the pond with water. As the pond fills, you can ease the anchors off the edges, and adjust the liner to remove creases for a neat finish. You may need to stretch the liner in some places, and gather creases together to make one or two larger ones in other spots. Depending on the shape of the pond, you should be able to get rid of almost all creases, and you can use plants to cover any that may remain.

Step 4. Once the pond is full, secure the remaining overlap 'flap' by digging a shallow trench around the pond, and burying it.
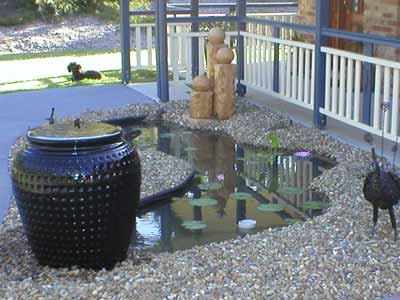
Step 5. Finish the pond by using slate, rocks or stone paving around the edge. If using rocks, it is a good idea to use river pebbles or mortar to fill any gaps, so that the edge of the liner is completely covered.
Important - as with any new fish pond or tank, it is important to wait until water has settled, plants are established and PH is correct before adding fish. Ask at your local aquarium for professional advice regarding the right mix of fish and plants for your area.


